How to Share Your Holiday Menu With Photos (2026)
Thanksgiving, Christmas and New Year's Eve menus are chosen weeks ahead on a phone. How to photograph the dishes, build a photo menu with a QR code, and share it so bookings come in early.
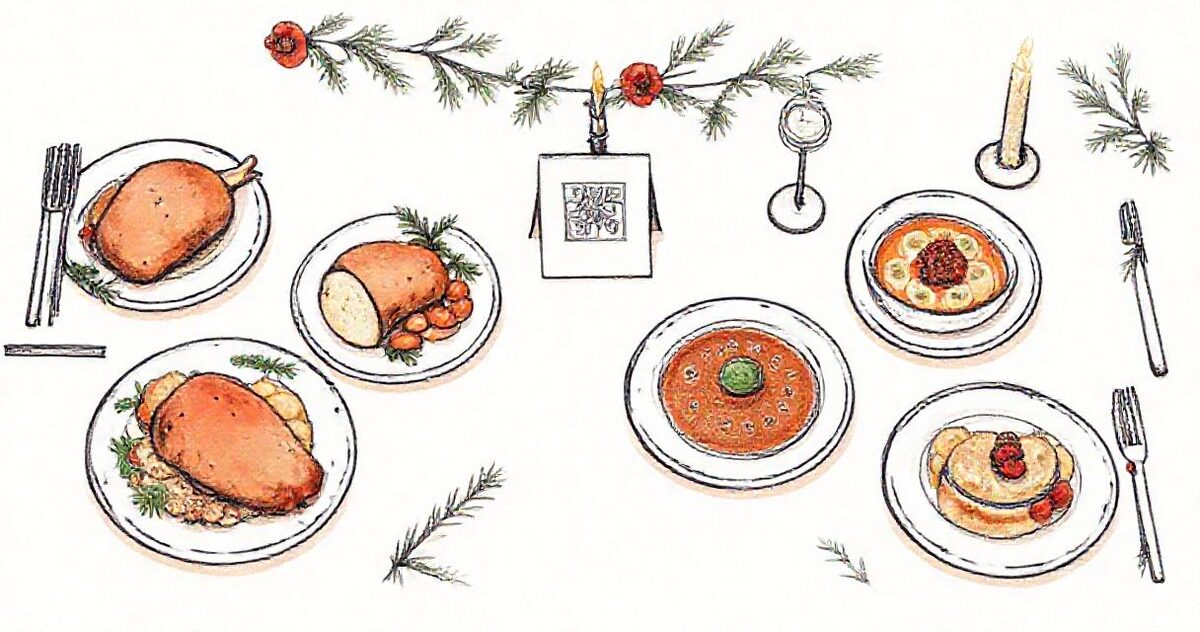
Short answer
Photograph each holiday dish, put the photos in one Google Drive folder named with the dish and price, and turn the folder into a photo menu page with one link and a QR code. Share the link on your booking page, Instagram bio, Google Business Profile and email list two to four weeks before each date, and print the QR code for tables and the window. Changing a dish or price is then just renaming or replacing a photo.
November and December are when restaurants and cafés sell their biggest menus of the year: Thanksgiving dinners, Christmas set menus, festive afternoon teas, New Year's Eve tasting menus. They're also the menus guests have to decide on weeks ahead, often from a phone, usually by sharing a link in a group chat with everyone else coming.
A holiday menu that shows the food sells it far better than a line of text in a PDF. This guide covers how to put your holiday menu online with photos, how to share it so bookings come in early, and how to keep it right when dishes or prices change.
- The short answer
- Why holiday menus need photos
- Photographing the dishes (a phone is enough)
- Building the menu from a Google Drive folder
- Sharing it so guests book early
- Changes, sell-outs and the next menu
- Common mistakes
- Holiday menu checklist
The short answer
Photograph each holiday dish, put the photos in one Google Drive folder named with the dish and price, and turn the folder into a photo menu page with one link and a QR code. Share the link where guests decide (your booking page, Instagram bio, Google Business Profile and email list) two to four weeks before each date, and print the QR code for tables and the window. Because the page reads the folder, changing a dish or price is just renaming or replacing a photo.
Why holiday menus need photos
- Guests decide in advance, not at the table. A Christmas party of eight picks a venue from a link in a group chat. The menu that looks best on a phone wins the booking.
- Set menus are a bigger spend. A fixed-price festive menu asks guests to commit to every course. Seeing the dishes removes the doubt.
- PDFs read badly on phones. A scanned or exported PDF means pinching and zooming, and most people stop at the first page.
- Specials are the point. The dishes you only make once a year are exactly the ones nobody can picture from a name.
Photographing the dishes (a phone is enough)
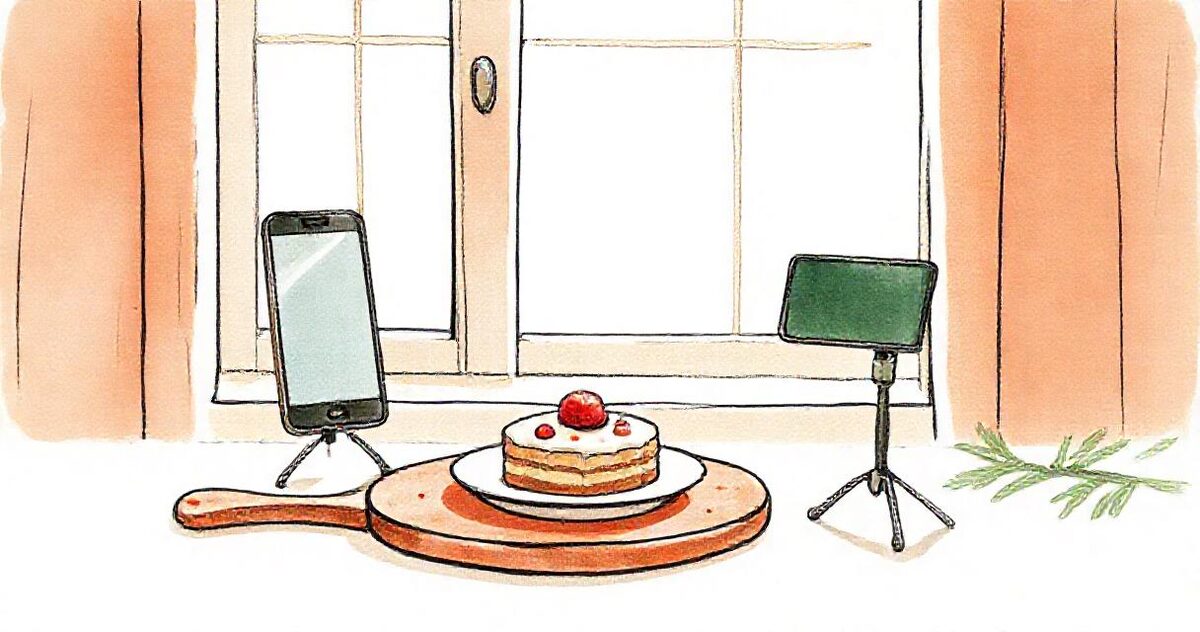
Shoot during a menu tasting or the first service, when every dish is plated properly:
- Daylight from the side: a table next to a window, no overhead lights, no flash.
- The same setup for every dish: same board or table, same angle, so the menu looks like one set rather than a collage.
- Two angles that work: from directly above for flat plates and sharing boards, from about 45 degrees for burgers, cakes and anything tall.
- Fill the frame: the plate should take up most of the photo. A sprig of pine or a candle at the edge is enough to say "holiday".
- Clean the rim of every plate before you shoot. It's the detail diners notice most.
If you work with a food photographer, ask them to deliver the finished photos into a shared Drive folder. You can build the menu straight from it.
Building the menu from a Google Drive folder
1. One folder per holiday menu
Make a folder such as Christmas Menu 2026 and add a subfolder for each course: Starters, Mains, Desserts, Drinks. Each subfolder becomes a titled section of the menu.
2. Name each photo with the dish and price
The file name becomes the text under the photo, so Roast turkey with cranberry $34.jpg shows as "Roast turkey with cranberry $34". For a fixed-price set menu, put the price on the first item or in the menu's title instead, for example Christmas Day · 3 courses $65.
3. Turn the folder into a photo menu
In GalleryLink, create a gallery from the folder link and choose Product menu. Menu mode shows the name and price under every photo and takes out the parts meant for photo delivery: no hearts and no download buttons. Pick a theme and colours that match your room. Our step-by-step QR photo menu guide covers each setting.
4. Make the QR card
The QR & Print tab designs a table card or window poster with the menu's QR code. The link never changes, so you print once even if the dishes change. You can also save the menu as a PDF for a printed copy at the counter.
Sharing it so guests book early
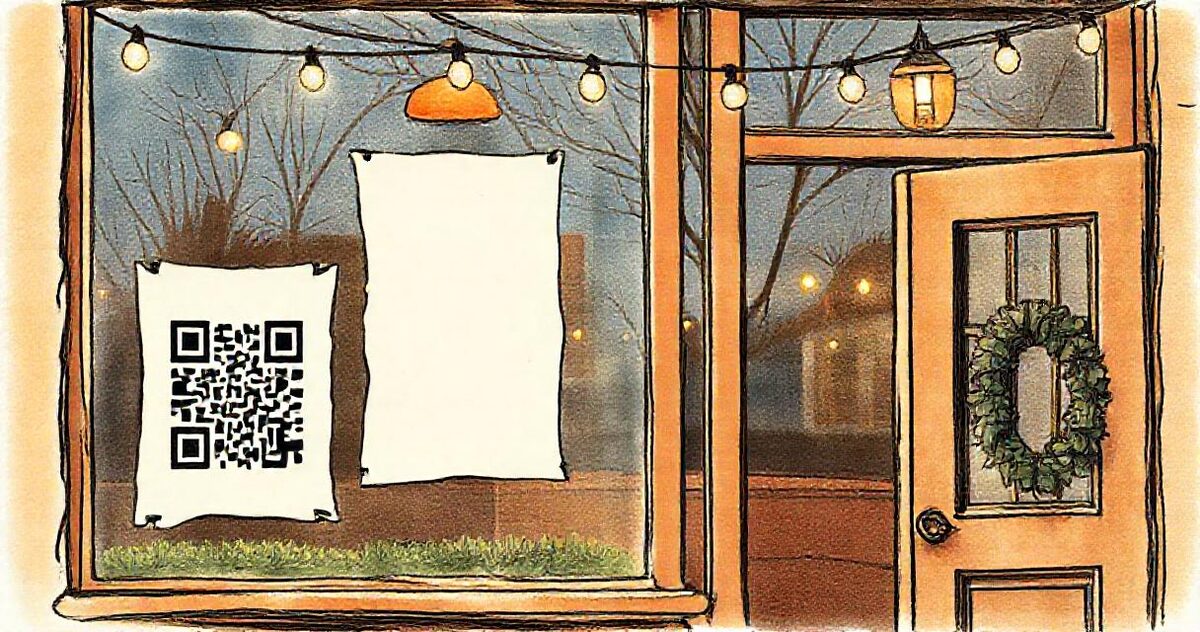
- Two to four weeks before each date is when holiday bookings are decided. Thanksgiving is 26 November in 2026; office Christmas parties book from mid-November.
- Booking page and website: link the photo menu next to the "Book" button, not on a separate page.
- Instagram: put the link in your bio and post the three best dishes with "full menu at the link in bio".
- Google Business Profile: add the link as your menu link so it shows on Google Maps.
- Email and WhatsApp: send the link to regulars and past party bookers. A link with a photo preview gets opened.
- In the venue: QR cards on tables in the weeks before, and a poster in the window.
Changes, sell-outs and the next menu
- A price changes: rename the photo in Drive. The menu updates; nothing to re-export.
- A dish comes off: move its photo out of the folder and it disappears from the menu.
- A new special: drop its photo in and it appears.
- The next holiday: make a copy of the folder for New Year's Eve, swap the dishes, and create a new menu from it in a couple of minutes.
Common mistakes
- Sharing too late: a Christmas menu posted on 15 December misses most of the bookings.
- Mixing styles: photos from five different shoots look like a collage. Reshoot the set together.
- Prices that don't match: the menu online, the printed card and the booking page must all show the same price.
- No allergen information: add a line to each section or a note in the menu's title about allergens and dietary options, and keep the full allergen list available as your local rules require.
- A link that dies in January: keep the menu online until the season is over, then reuse the same link for your winter menu so printed QR codes still work.
Holiday menu checklist
- Photograph every dish in one session, same light and angle.
- One Drive folder per holiday menu, a subfolder per course.
- Name every photo with the dish and price.
- Create the photo menu and pick a theme that matches the room.
- Print QR cards and a window poster.
- Share the link on your booking page, Instagram, Google Business Profile and email, two to four weeks ahead.
- Update prices and sell-outs by renaming or moving photos.
GalleryLink's menu mode turns a Drive folder of dish photos into a photo menu with a QR code in a few minutes. You can try it free with your own photos; keeping a menu online for the season is part of Pro ($5 a month). If you also want diners to order and pay from the table, MenuLink, our sister app, is built for that. Read more on photo menus for restaurants and cafés.