How to Make a QR Photo Menu From Google Drive (2026)
A step-by-step way for restaurants and cafés to turn a Google Drive folder of dish photos into a QR code photo menu: naming files with prices, sections, menu mode, table cards, and when you need a full ordering app instead.
Short answer
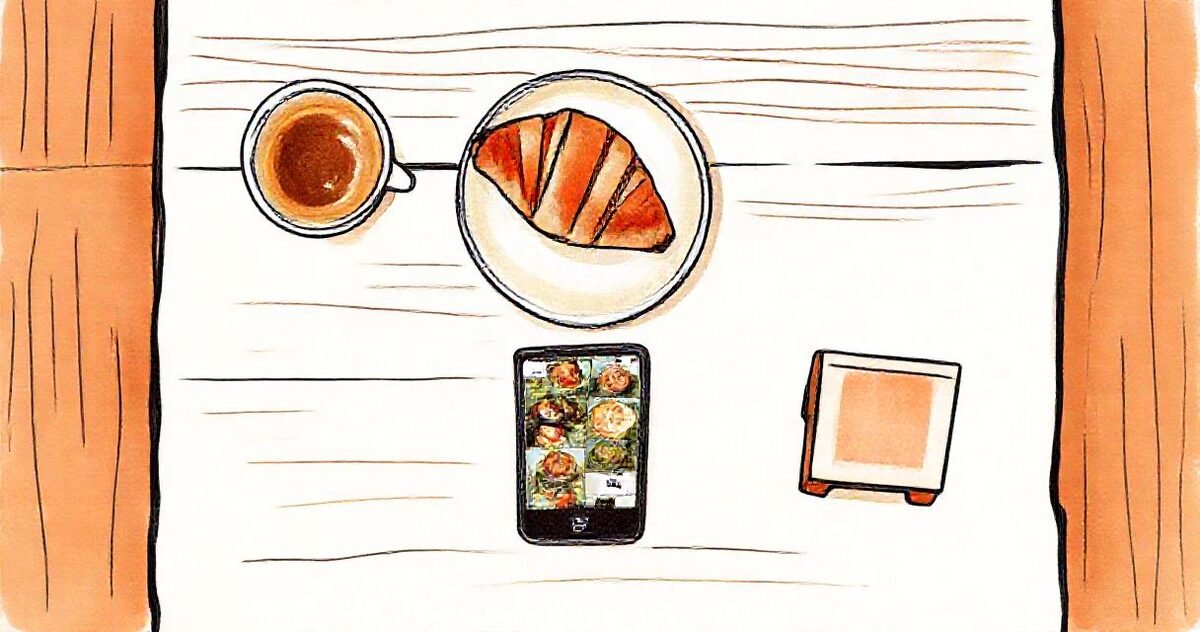
Put one photo per dish in a Google Drive folder, name each file with the dish and price (“Margherita pizza £12.jpg”), and use subfolders for Starters, Mains and Desserts. Turn the folder into a gallery in menu mode, which shows the name and price under every photo and hides favourites and downloads, then print a QR card for each table. The menu updates whenever you change the folder. If diners should also order and pay from the table, use a full QR menu app such as MenuLink instead.
Most QR code menus are a PDF of the paper menu. On a phone that means a small document, pinch to zoom, and a wall of text. Diners choose with their eyes, and a menu that shows each dish does the selling for you. If you already have photos of your food, you can have a photo menu on the tables this afternoon.
1. One folder, one photo per dish
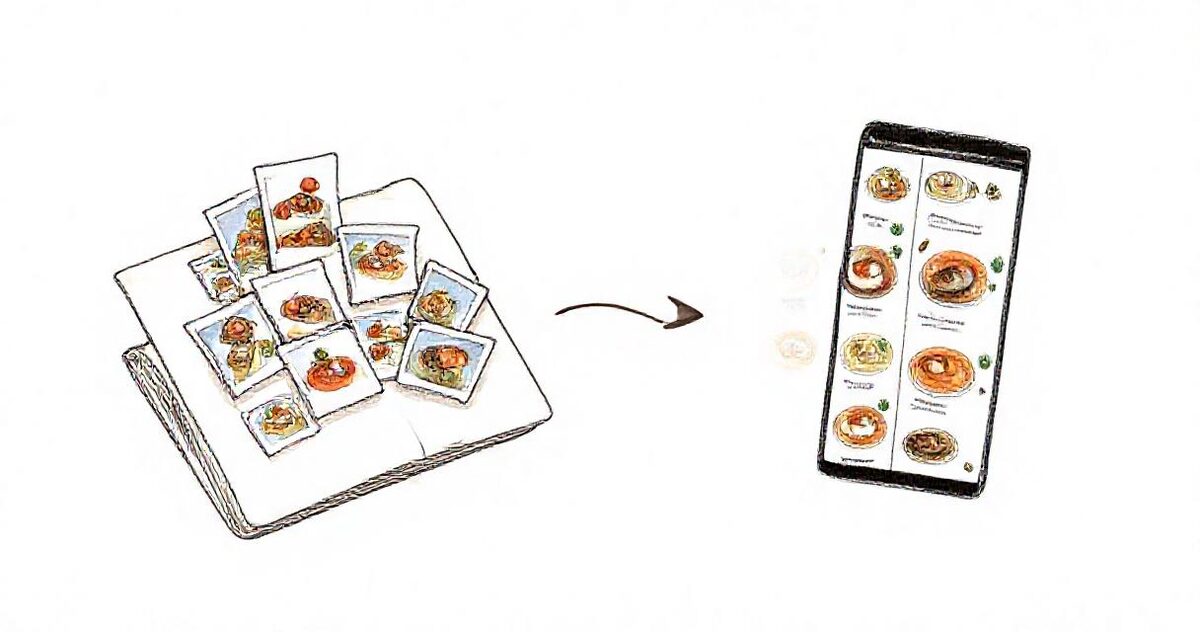
Make a folder in Google Drive for the menu and put one photo in it for every dish. Use subfolders for the sections of your menu, such as Starters, Mains and Desserts: each subfolder becomes a titled section.
Photos taken on a phone are fine. Shoot near a window, from slightly above, with the plate filling most of the frame, and keep the background the same from dish to dish so the menu looks like one set.
2. Name every file with the dish and the price
The file name becomes the text under the photo, so it is worth getting right:
- Margherita pizza £12.jpg shows as “Margherita pizza £12”.
- Mango lassi £4.50.jpg shows as “Mango lassi £4.50”.
- Hyphens and underscores become spaces, so chicken_tikka-14.jpg shows as “Chicken Tikka 14”.
Changing a price is then just renaming a file. No PDF to export, nothing to re-upload.
3. Turn the folder into a menu
In GalleryLink, create a gallery from the folder link and choose Product menu under “What is this gallery?”. Menu mode is a gallery with the client-delivery parts taken out: names and prices under every photo, and no hearts, favourites or download buttons, because nobody shortlists a soup. Pick a layout (masonry suits mixed photo shapes; a grid suits a matching set) and a theme that fits the room.
Because the menu reads the folder, a new special appears as soon as its photo is in the folder, and a dish you take off the menu disappears when you remove its photo.
4. Put a QR card on every table
The QR & Print tab designs a table card or poster with the menu's QR code on it. Print one per table, or a poster for the window. The code points to the menu's link, which never changes, so you print the cards once.
The same menu can also be saved as a PDF, which is handy for a laminated copy at the counter or for delivery partners who ask for one.
5. Keep the link live
A menu has to stay online, so keep the gallery on Pro, which keeps galleries live for good and adds custom themes, your own subdomain and password protection if you ever need a private staff version. You can try the whole thing on the free plan first.
When you need more than a photo menu
A photo menu shows the food. It does not take orders. If you want diners to order and pay from the table, see orders on a kitchen screen, mark a dish sold out in a tap, or show the menu in several languages, you want a full restaurant menu app. MenuLink, our sister app from Upbrew, is built for exactly that, and it can build the menu from a photo of the one you already print.
For a café that wants its food to look as good on a phone as it does on the plate, the Drive folder route above is the quickest start. Read more on photo menus for restaurants and cafés, or create a free account and try it with the photos you already have.