How to Create a Restaurant Menu From Google Drive Photos (2026)
Turn a Google Drive folder of dish photos into a restaurant menu: sections from subfolders, names and prices from file names, a QR code for tables, and updates by renaming a file.
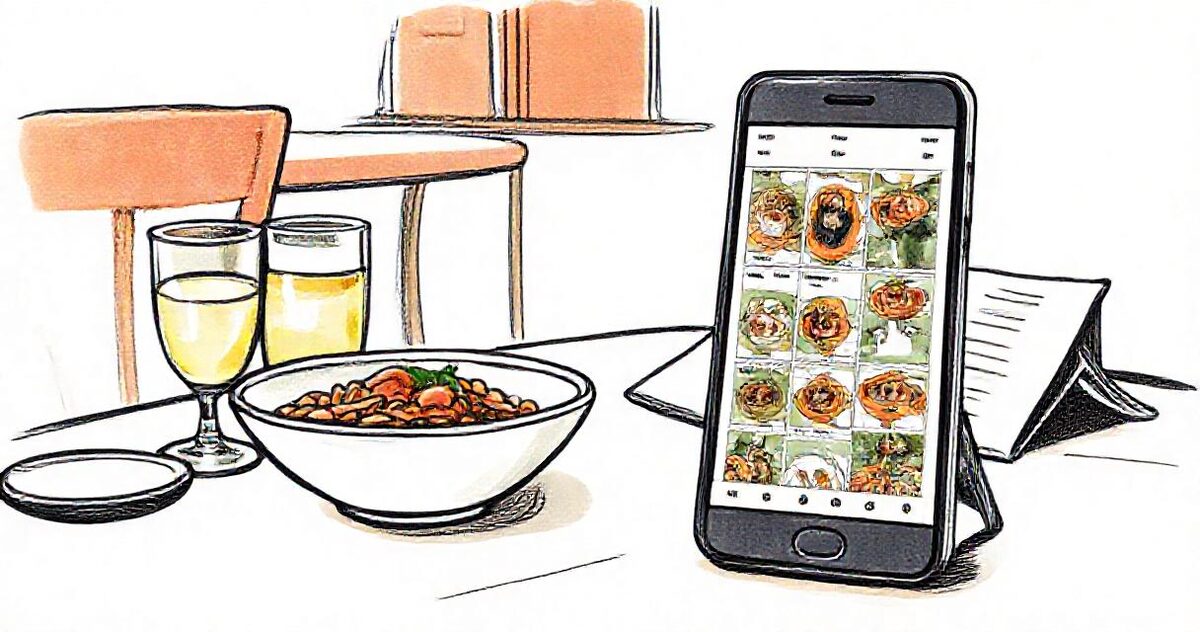
Short answer
Create one Google Drive folder for the menu with a subfolder per section (Starters, Mains, Desserts, Drinks), add one photo per dish, and name each file with the dish and price, such as 'Margherita Pizza $14.jpg'. Turn the folder into a menu page with a tool that reads Drive folders, such as GalleryLink's menu mode, to get one link with every dish, name and price, a QR code for tables, and a menu that updates when you change the folder.
Most restaurants already have the two things a good online menu needs: photos of the food, and a Google Drive (or phone) full of them. What's missing is a way to turn those photos into a menu guests can actually use on a phone, without paying a designer, retyping everything into a menu app, or exporting a new PDF every time a price changes.
This guide shows how to build a complete restaurant menu from a Google Drive folder of dish photos: how to organise the folder, name the files so they become dish names and prices, turn it into a menu page, and share it on your website, Google Maps, Instagram and the tables.
- The short answer
- Why build the menu from Drive
- Step 1: organise the folder like your menu
- Step 2: name each photo with the dish and price
- Step 3: turn the folder into a menu page
- Step 4: share it everywhere guests look
- Step 5: keep it up to date (with your team)
- Drive photo menu vs PDF vs menu apps
- Checklist
The short answer
Create one Google Drive folder for the menu with a subfolder for each section (Starters, Mains, Desserts, Drinks), put one photo per dish in the right subfolder, and name each file with the dish and price, such as Margherita Pizza $14.jpg. Then turn the folder into a menu page with a tool that reads Drive folders, such as GalleryLink's menu mode. You get one link with every dish, name and price, sections in the right place, a QR code for the tables, and a menu that updates whenever you change the folder.
Why build the menu from Drive
- Your photos are already there. Phone photos back up to Google Photos or Drive, and photographers usually deliver into Drive.
- No retyping. The file names are the menu text, so there's no separate system to fill in.
- Changes take seconds. Rename a file to change a price; move a photo out to take a dish off.
- Your team can help. Share the folder with a manager or chef and they can update it from their phone.
- It costs little. Google Drive's free 15 GB holds thousands of menu photos.
Step 1: organise the folder like your menu
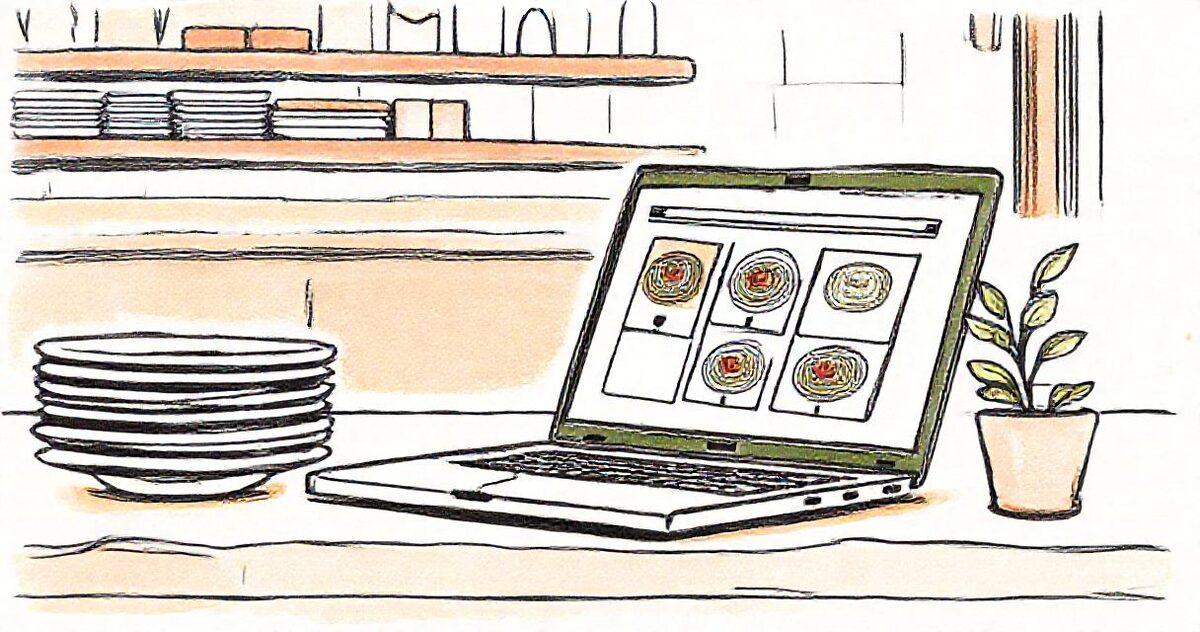
In Google Drive, create a folder named after your restaurant and menu, for example Luna Café Menu. Inside it, add a subfolder for each section of the menu:
- Breakfast, Starters, Mains, Pizza, Desserts, Drinks
- Or by time of day: Lunch, Dinner, Weekend Brunch
Each subfolder becomes a titled section on the menu page. Within a section, dishes appear in the order of their file names (A to Z), so name your bestsellers to sort where you want them, or simply accept alphabetical order, which guests find easy to scan.
For the photos themselves: one photo per dish, shot in daylight with the same angle and background, so the menu looks like one set. Our holiday menu guide has simple phone tips.
Step 2: name each photo with the dish and price
The file name becomes the text under the photo. Write it exactly as you want guests to read it:
| File name | Shows on the menu as |
|---|---|
| Margherita Pizza $14.jpg | Margherita Pizza $14 |
| Chicken Tikka Masala £13.50.jpg | Chicken Tikka Masala £13.50 |
| Pastel de Nata €2.jpg | Pastel de Nata €2 |
| iced_latte_5.jpg | Iced Latte 5 |
Names with capital letters are shown exactly as typed; all-lowercase names with underscores or hyphens are tidied into spaced, capitalised words. Use your currency symbol consistently, and add short dietary marks if you use them, such as Falafel Wrap (V) $11.jpg.
Step 3: turn the folder into a menu page
- In Google Drive, set the menu folder to Anyone with the link, Viewer and copy the link. See sharing a Drive folder without a Google account.
- In GalleryLink, create a gallery, paste the folder link and choose Product menu under "What is this gallery?".
- Pick a layout (a grid suits a matching set of photos; masonry suits mixed shapes) and a theme and colours that fit your restaurant.
Menu mode shows the name and price under every photo, and leaves out the parts meant for photographers' clients: no hearts, no favourites and no download buttons. Guests see a clean, scrollable menu with your sections.
Step 4: share it everywhere guests look
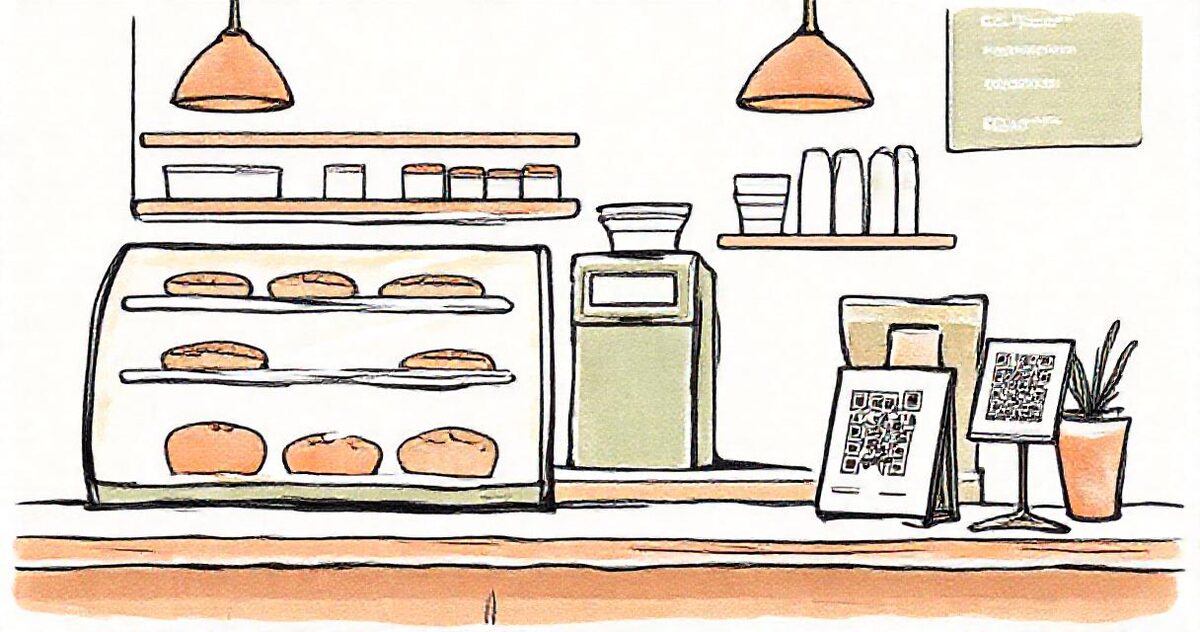
- Tables and counter: the QR & Print tab designs a table card or poster with the menu's QR code. The link never changes, so you print once.
- Google Business Profile: add the link as your menu link so it shows on Google Maps and in search.
- Website: link "Menu" in your site's navigation straight to the page.
- Instagram and WhatsApp: put the link in your bio and send it to customers who ask "what's on the menu?".
- Delivery partners and printed copies: save the menu as a PDF from the same page.
Step 5: keep it up to date (with your team)
- Price change: rename the photo in Drive.
- Dish sold out for the season: move its photo into an Archive folder outside the menu folder.
- New dish or daily special: drop its photo into the right section.
- Seasonal menus: make a copy of the folder for a holiday or summer menu and create a second menu page from it.
- Team access: share the Drive folder (as Editor) with your manager or chef, so updates don't wait for one person.
The menu page reads the folder, so every change shows up without exporting or re-uploading anything.
Drive photo menu vs PDF vs menu apps
| PDF menu | Drive photo menu | Ordering menu app | |
|---|---|---|---|
| Shows the food | Usually text only | A photo for every dish | Yes |
| On a phone | Pinch and zoom | Made for phones | Made for phones |
| Changing a price | Re-export and re-upload | Rename a file | Edit in the app |
| Setup | Design the document | Minutes from a folder | Enter every dish, connect payments |
| Orders and payments | No | No | Yes |
| Typical cost | Free | Low | Monthly fee, often plus a share of orders |
A Drive photo menu is the right fit when you want guests to see and choose the food, and you take orders at the counter or the table. If you want guests to order and pay from their phones, you need an ordering app; MenuLink, our sister app, is built for that.
Checklist
- One Drive folder for the menu, a subfolder per section.
- One daylight photo per dish, same angle and background.
- Every file named with the dish and price, exactly as guests should read it.
- Folder shared as "Anyone with the link, Viewer".
- Menu page created in menu mode with a theme that matches your restaurant.
- QR cards printed for tables, counter and window.
- Link added to Google Business Profile, website and Instagram.
- Team given edit access to the folder for updates.
You can build your menu in GalleryLink free with your own photos and see it on your phone in a few minutes. Keeping it online for good, with your own colours and no GalleryLink branding, is part of Pro ($5 a month). For the QR side in more detail, see how to make a QR photo menu from Google Drive, or read about photo menus for restaurants and cafés.